What is a soil nail wall?
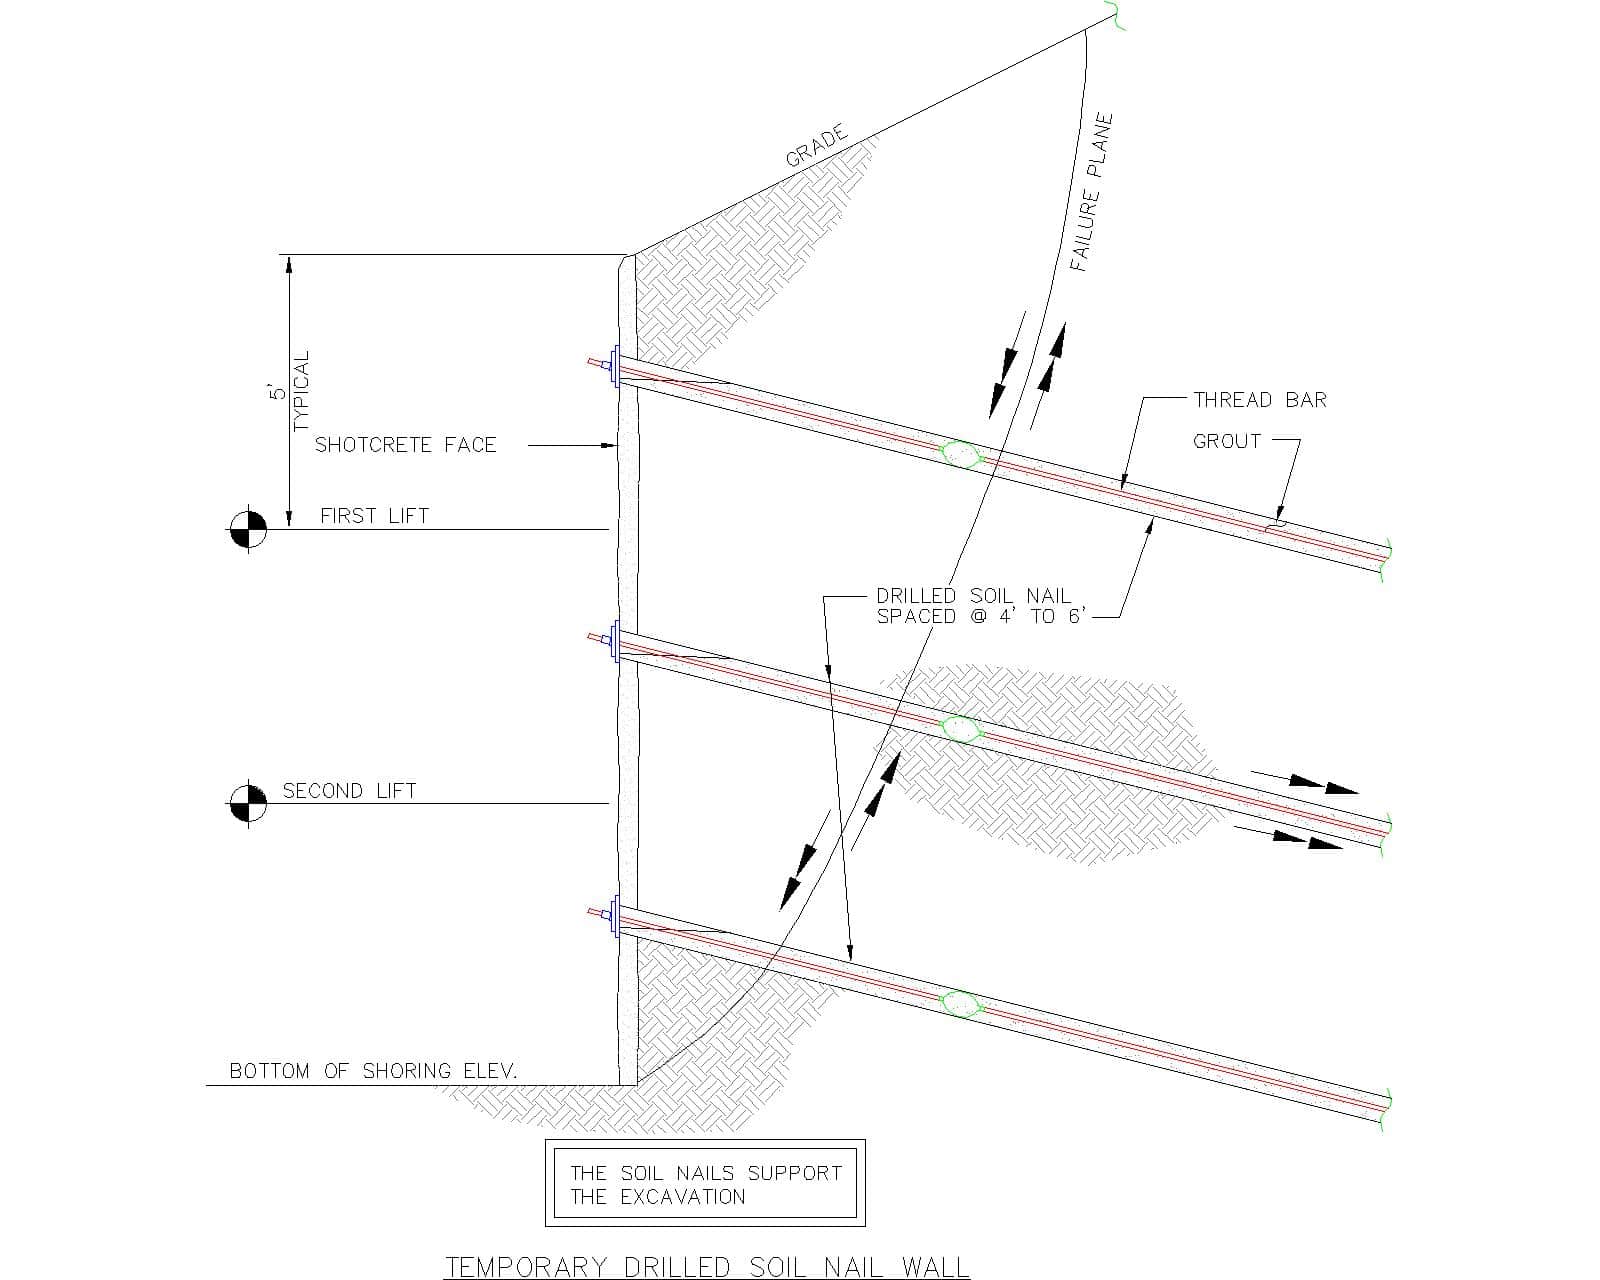
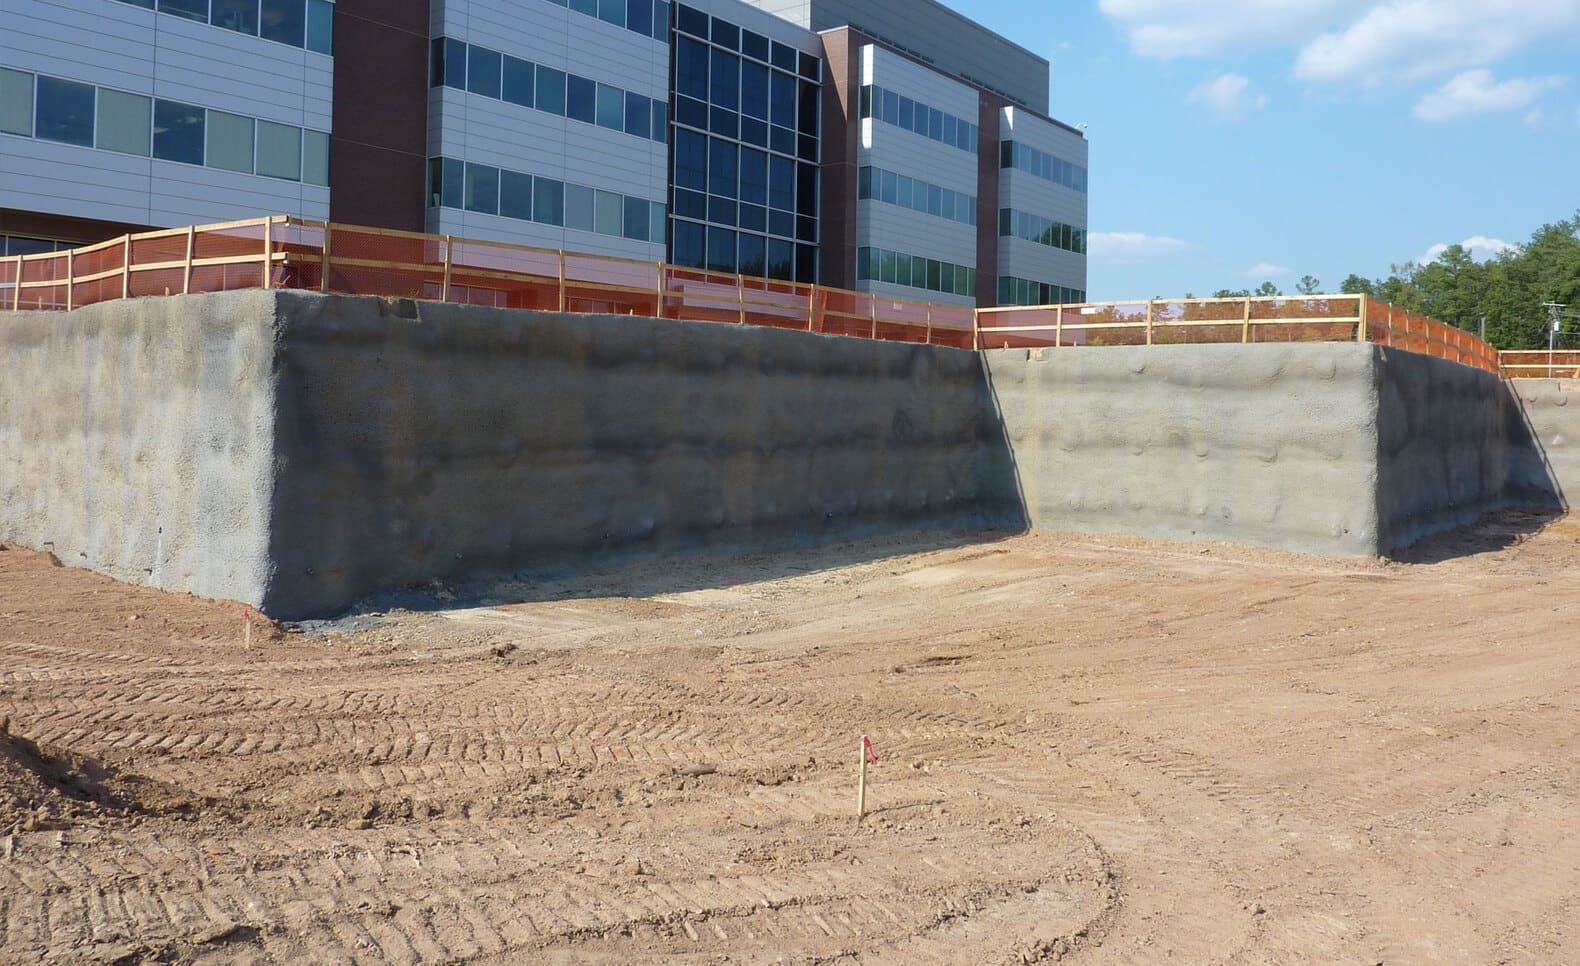
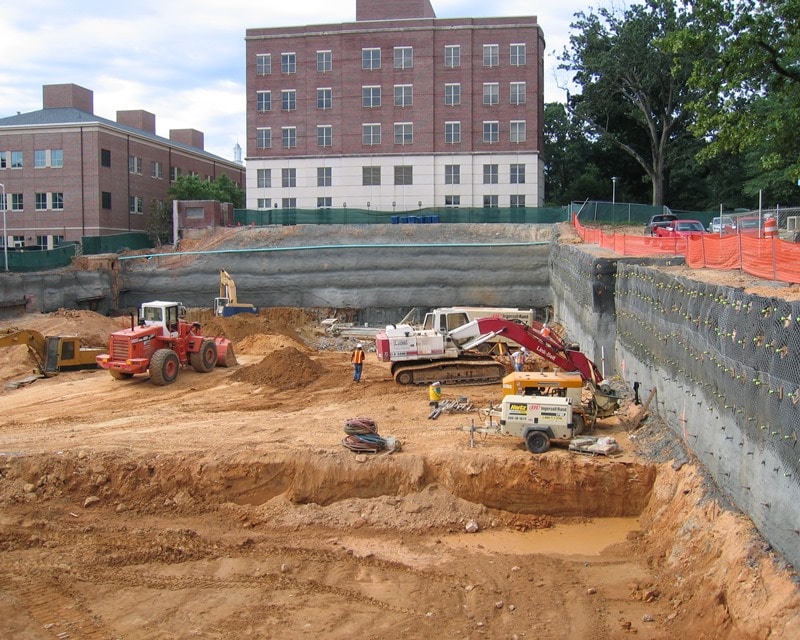
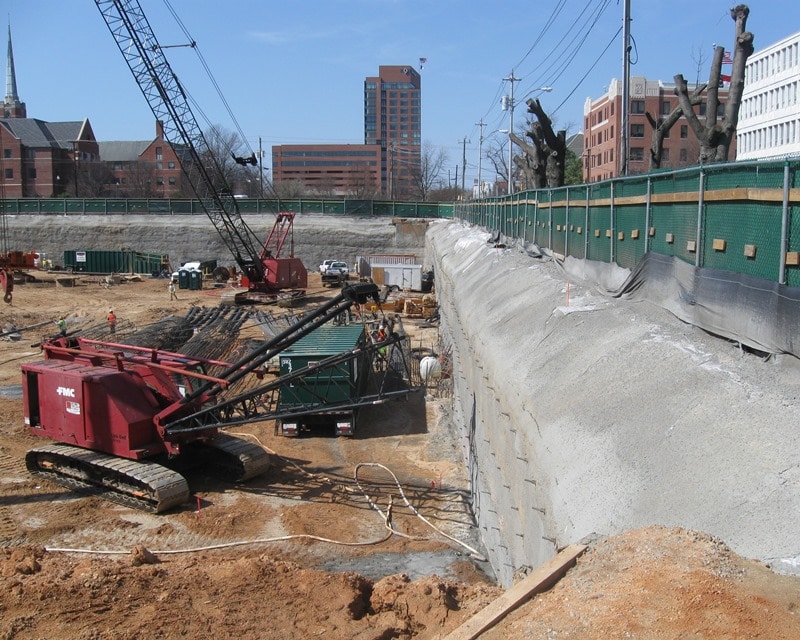
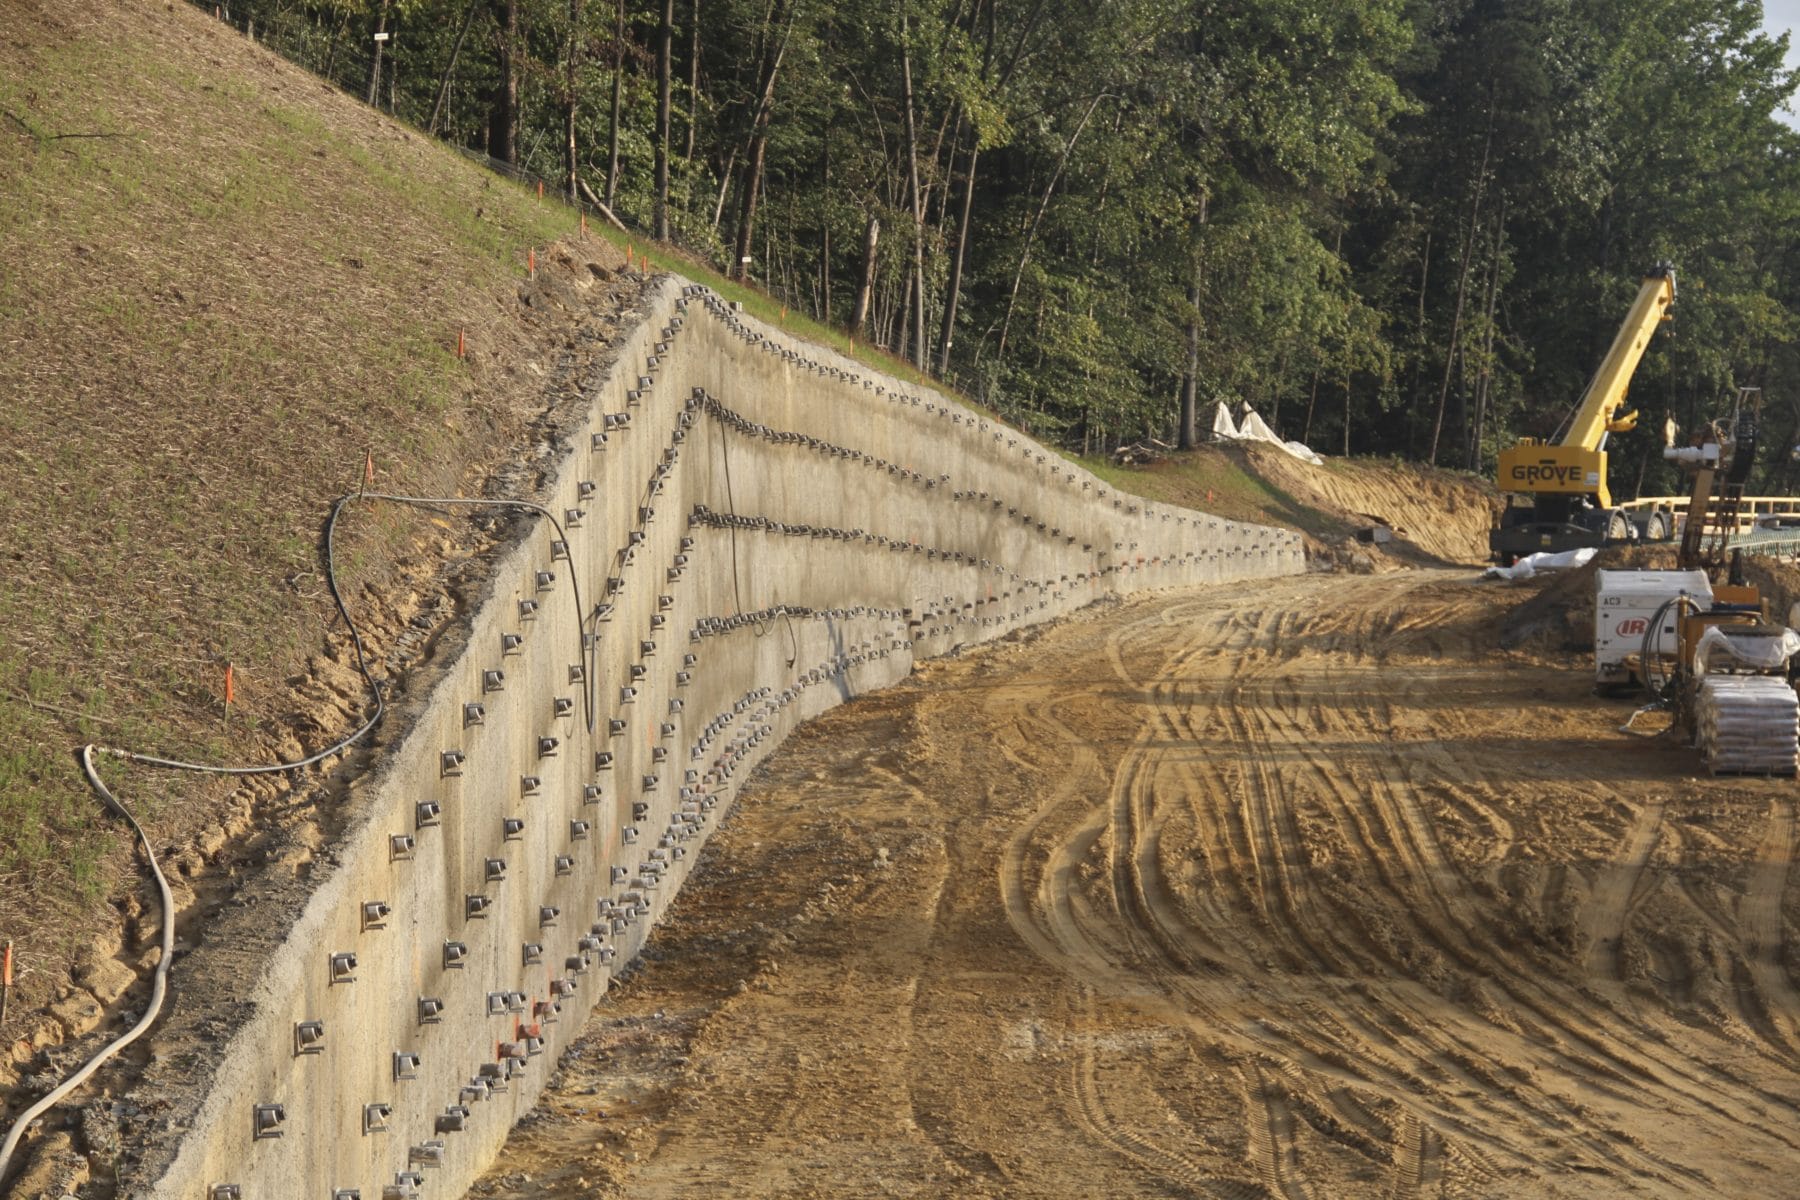
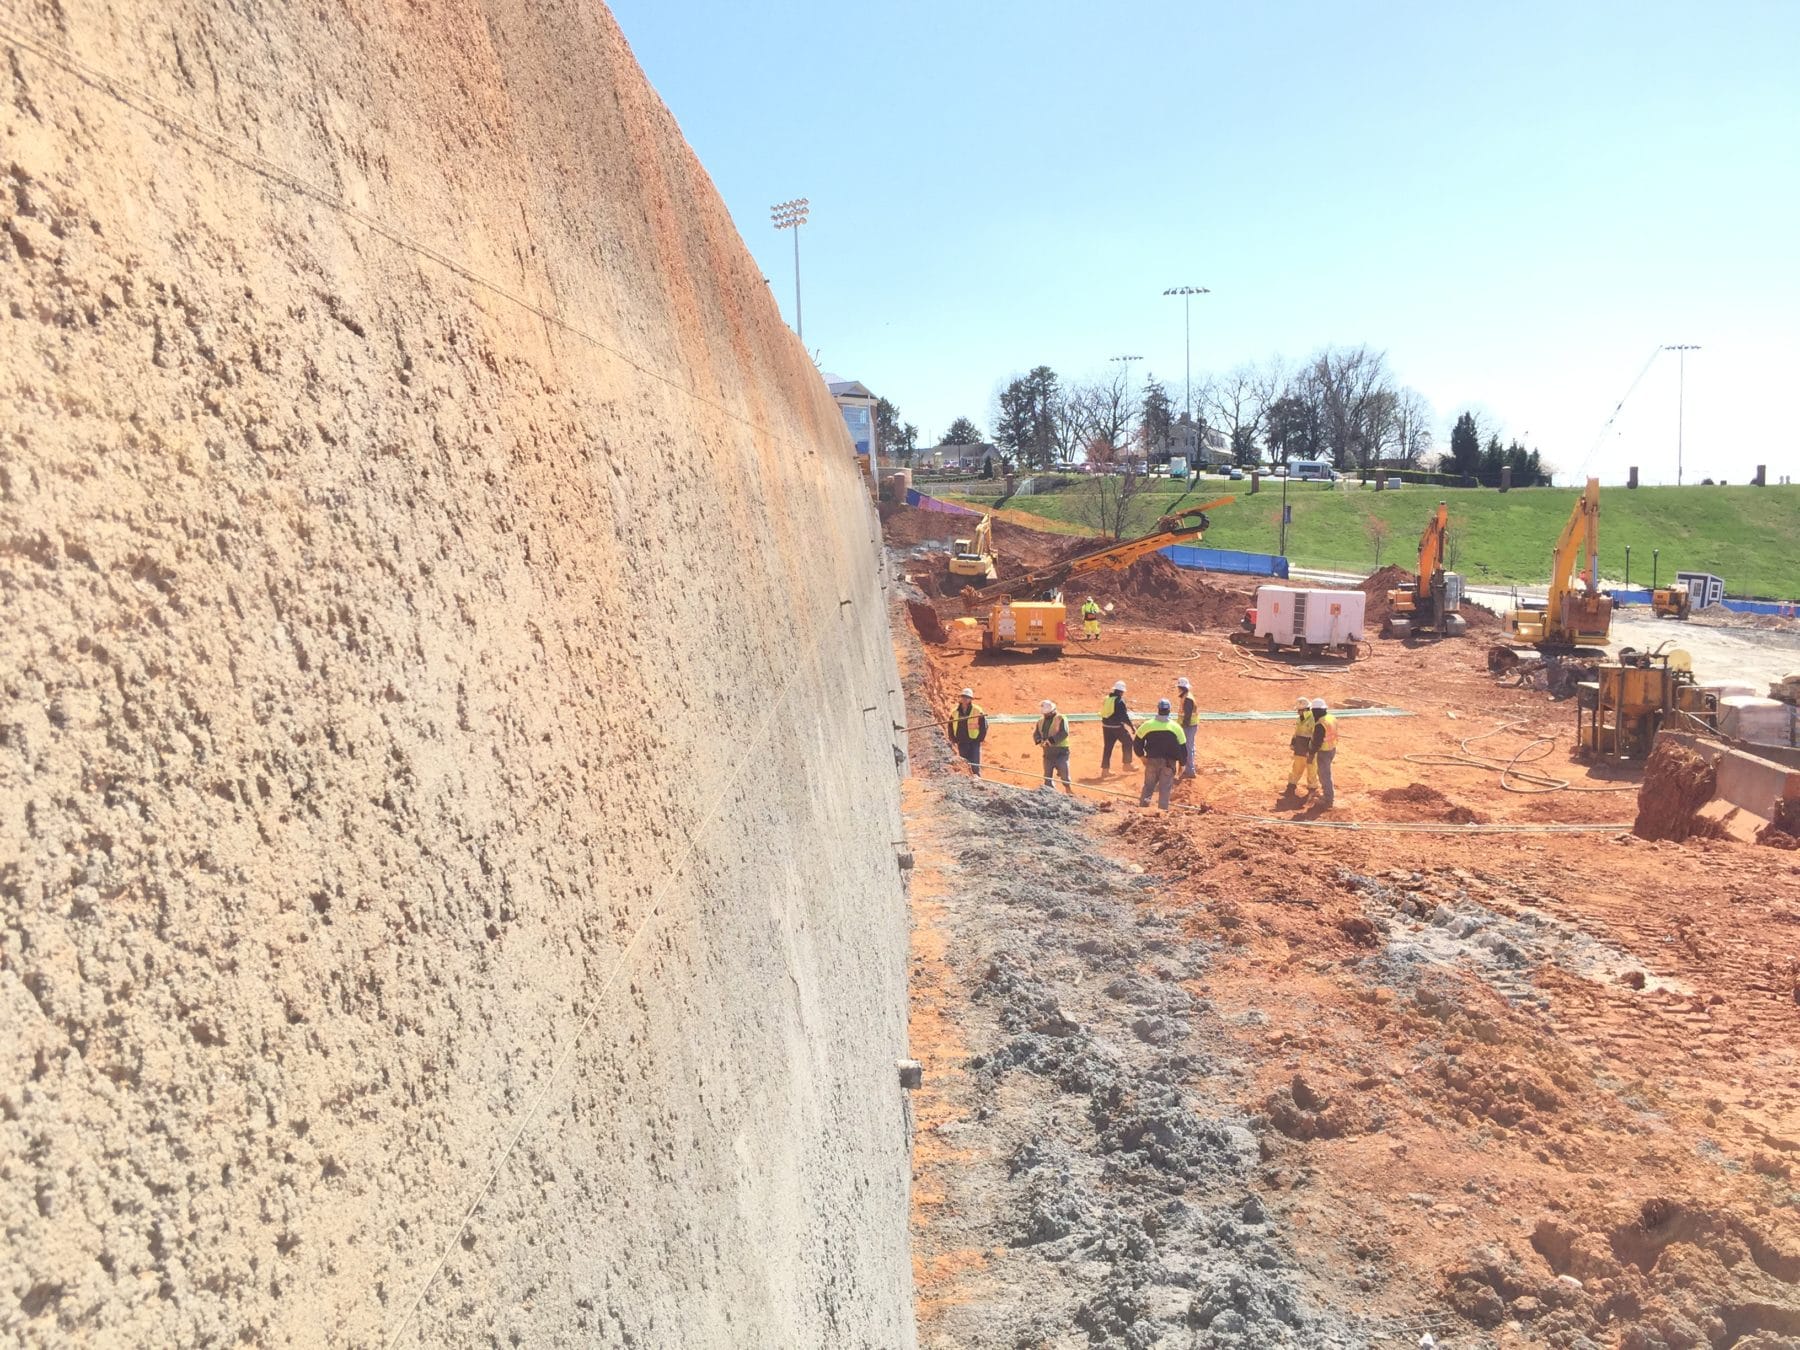
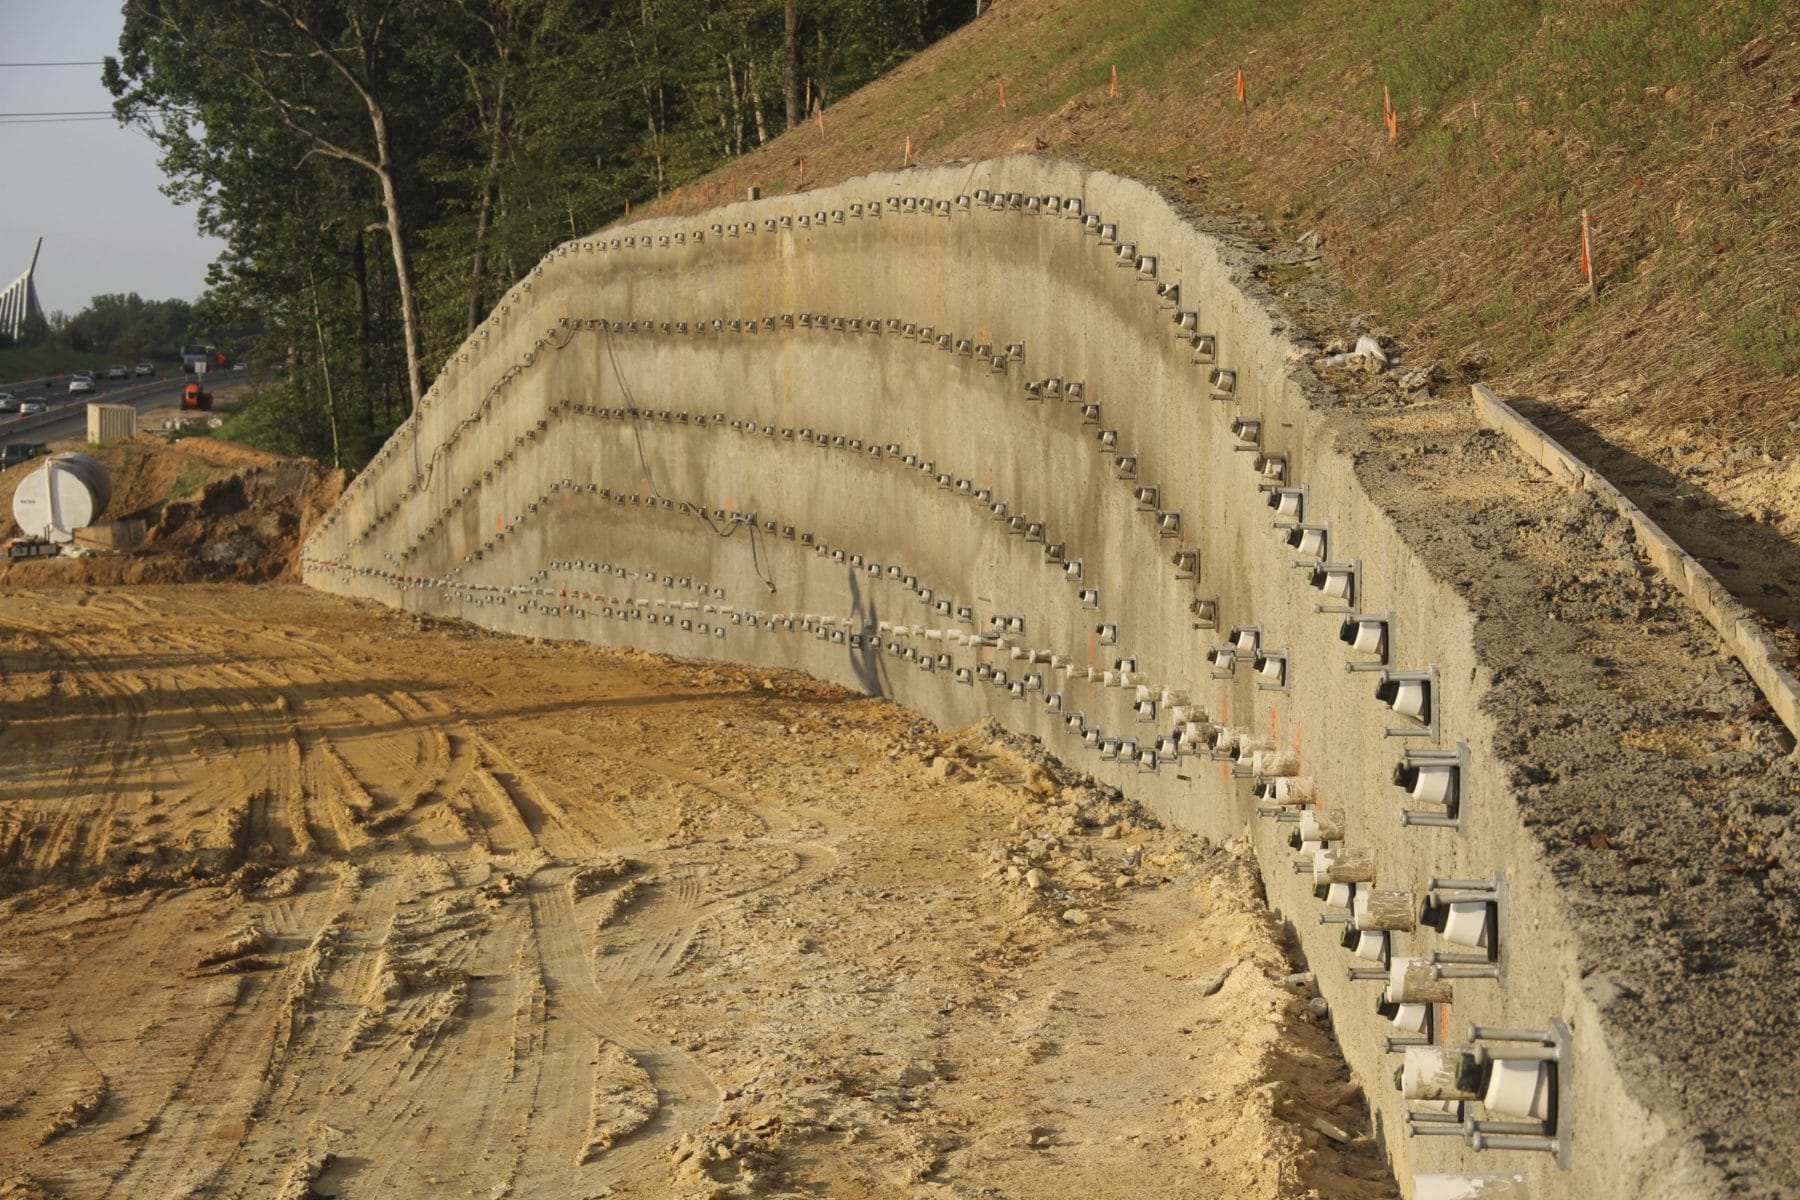
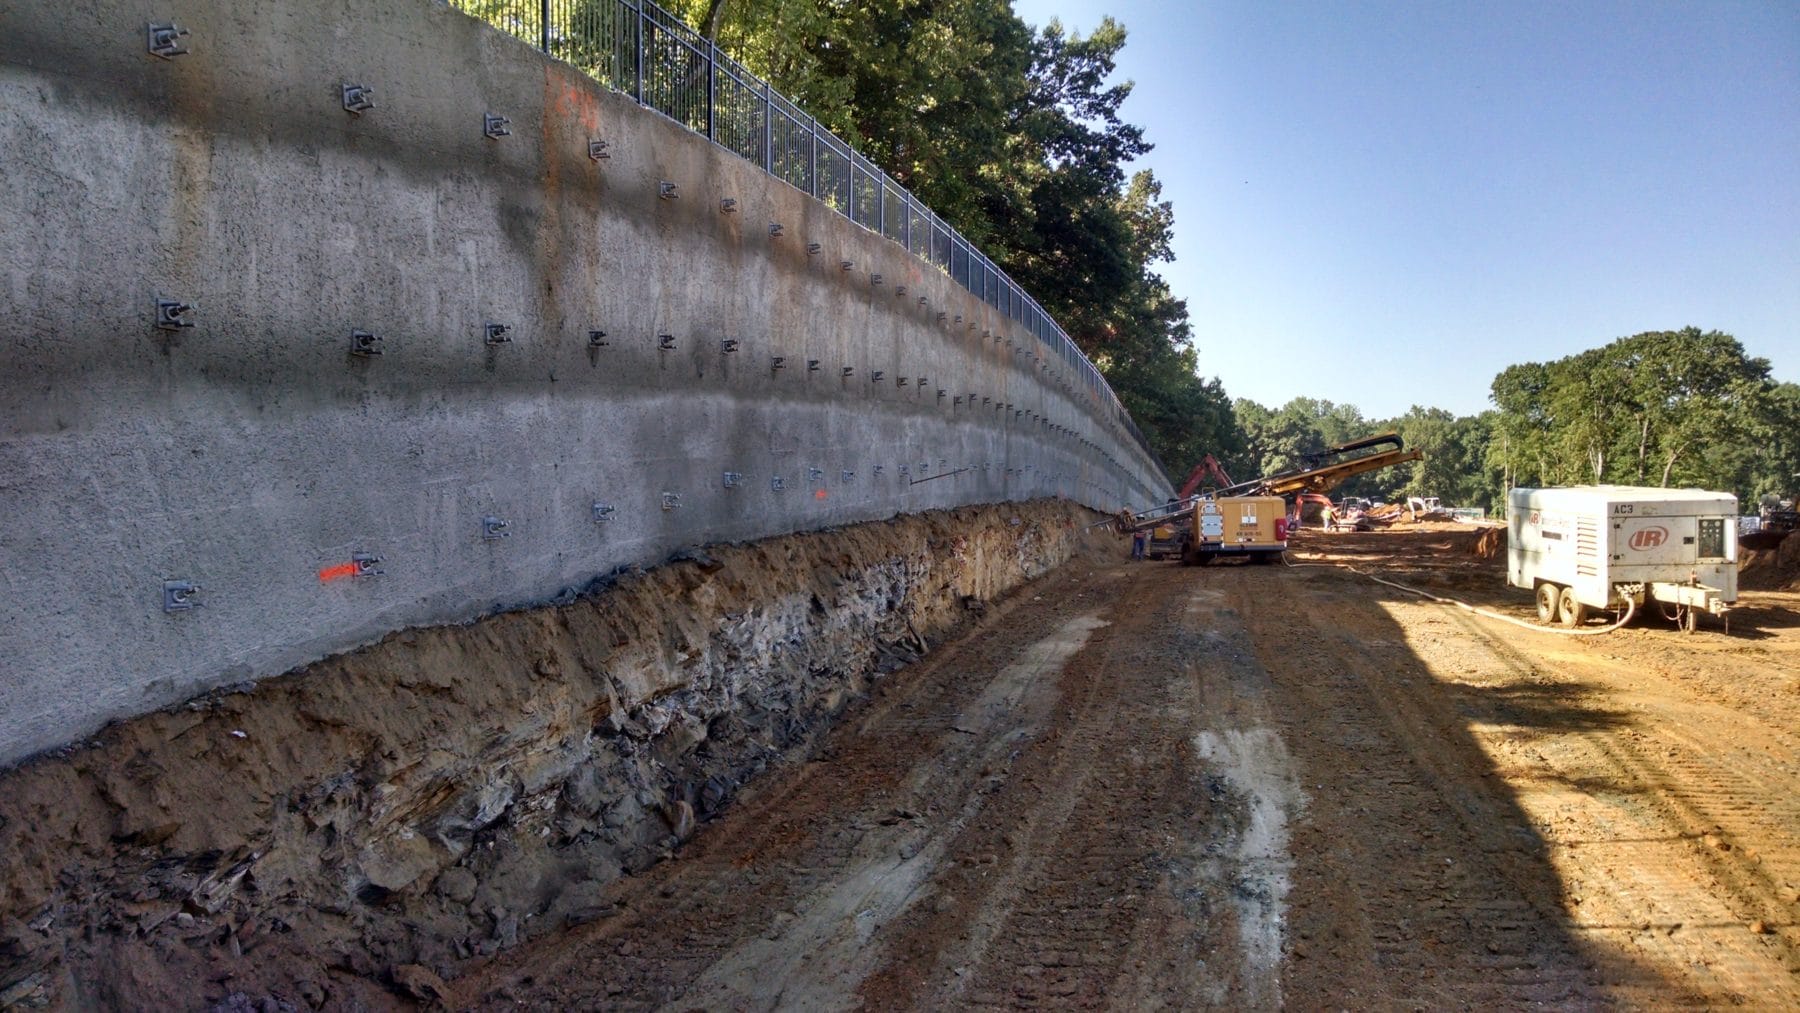
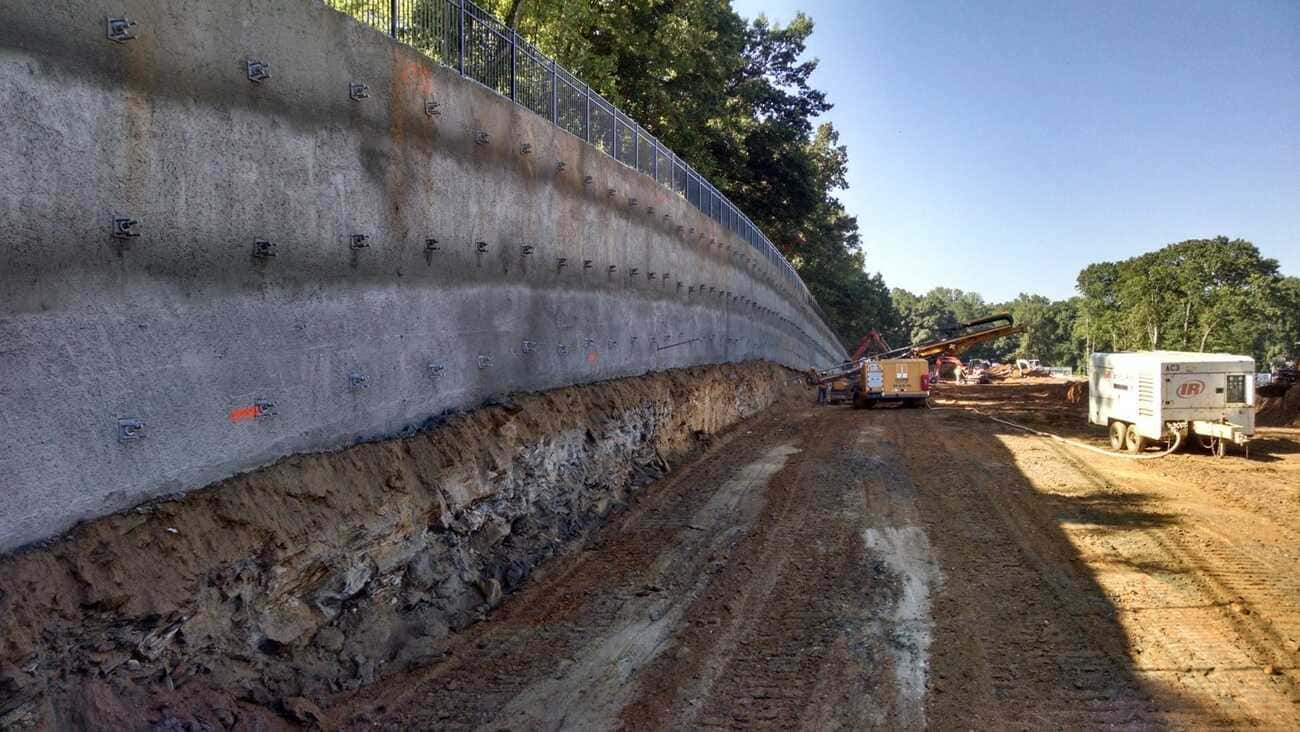
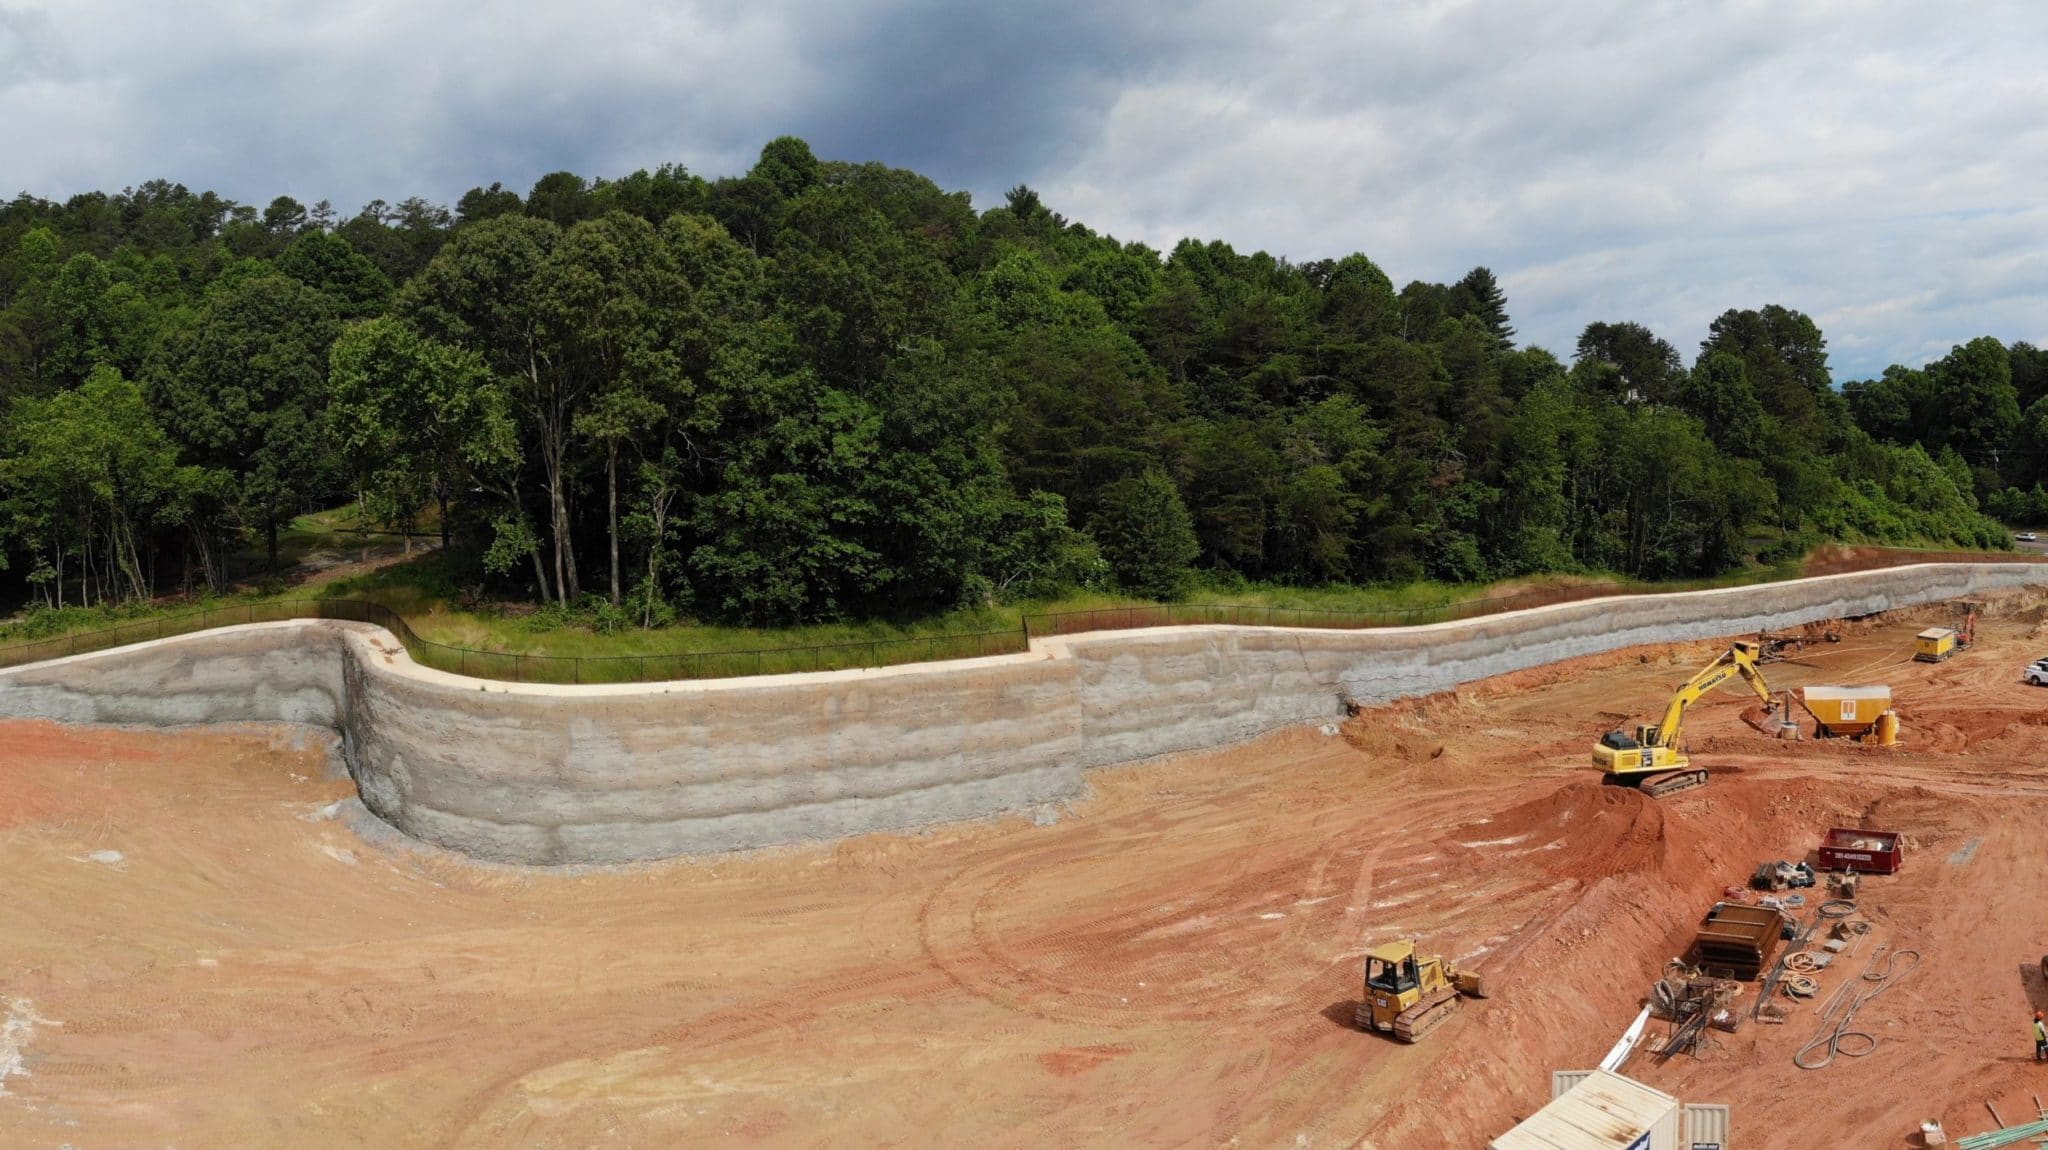
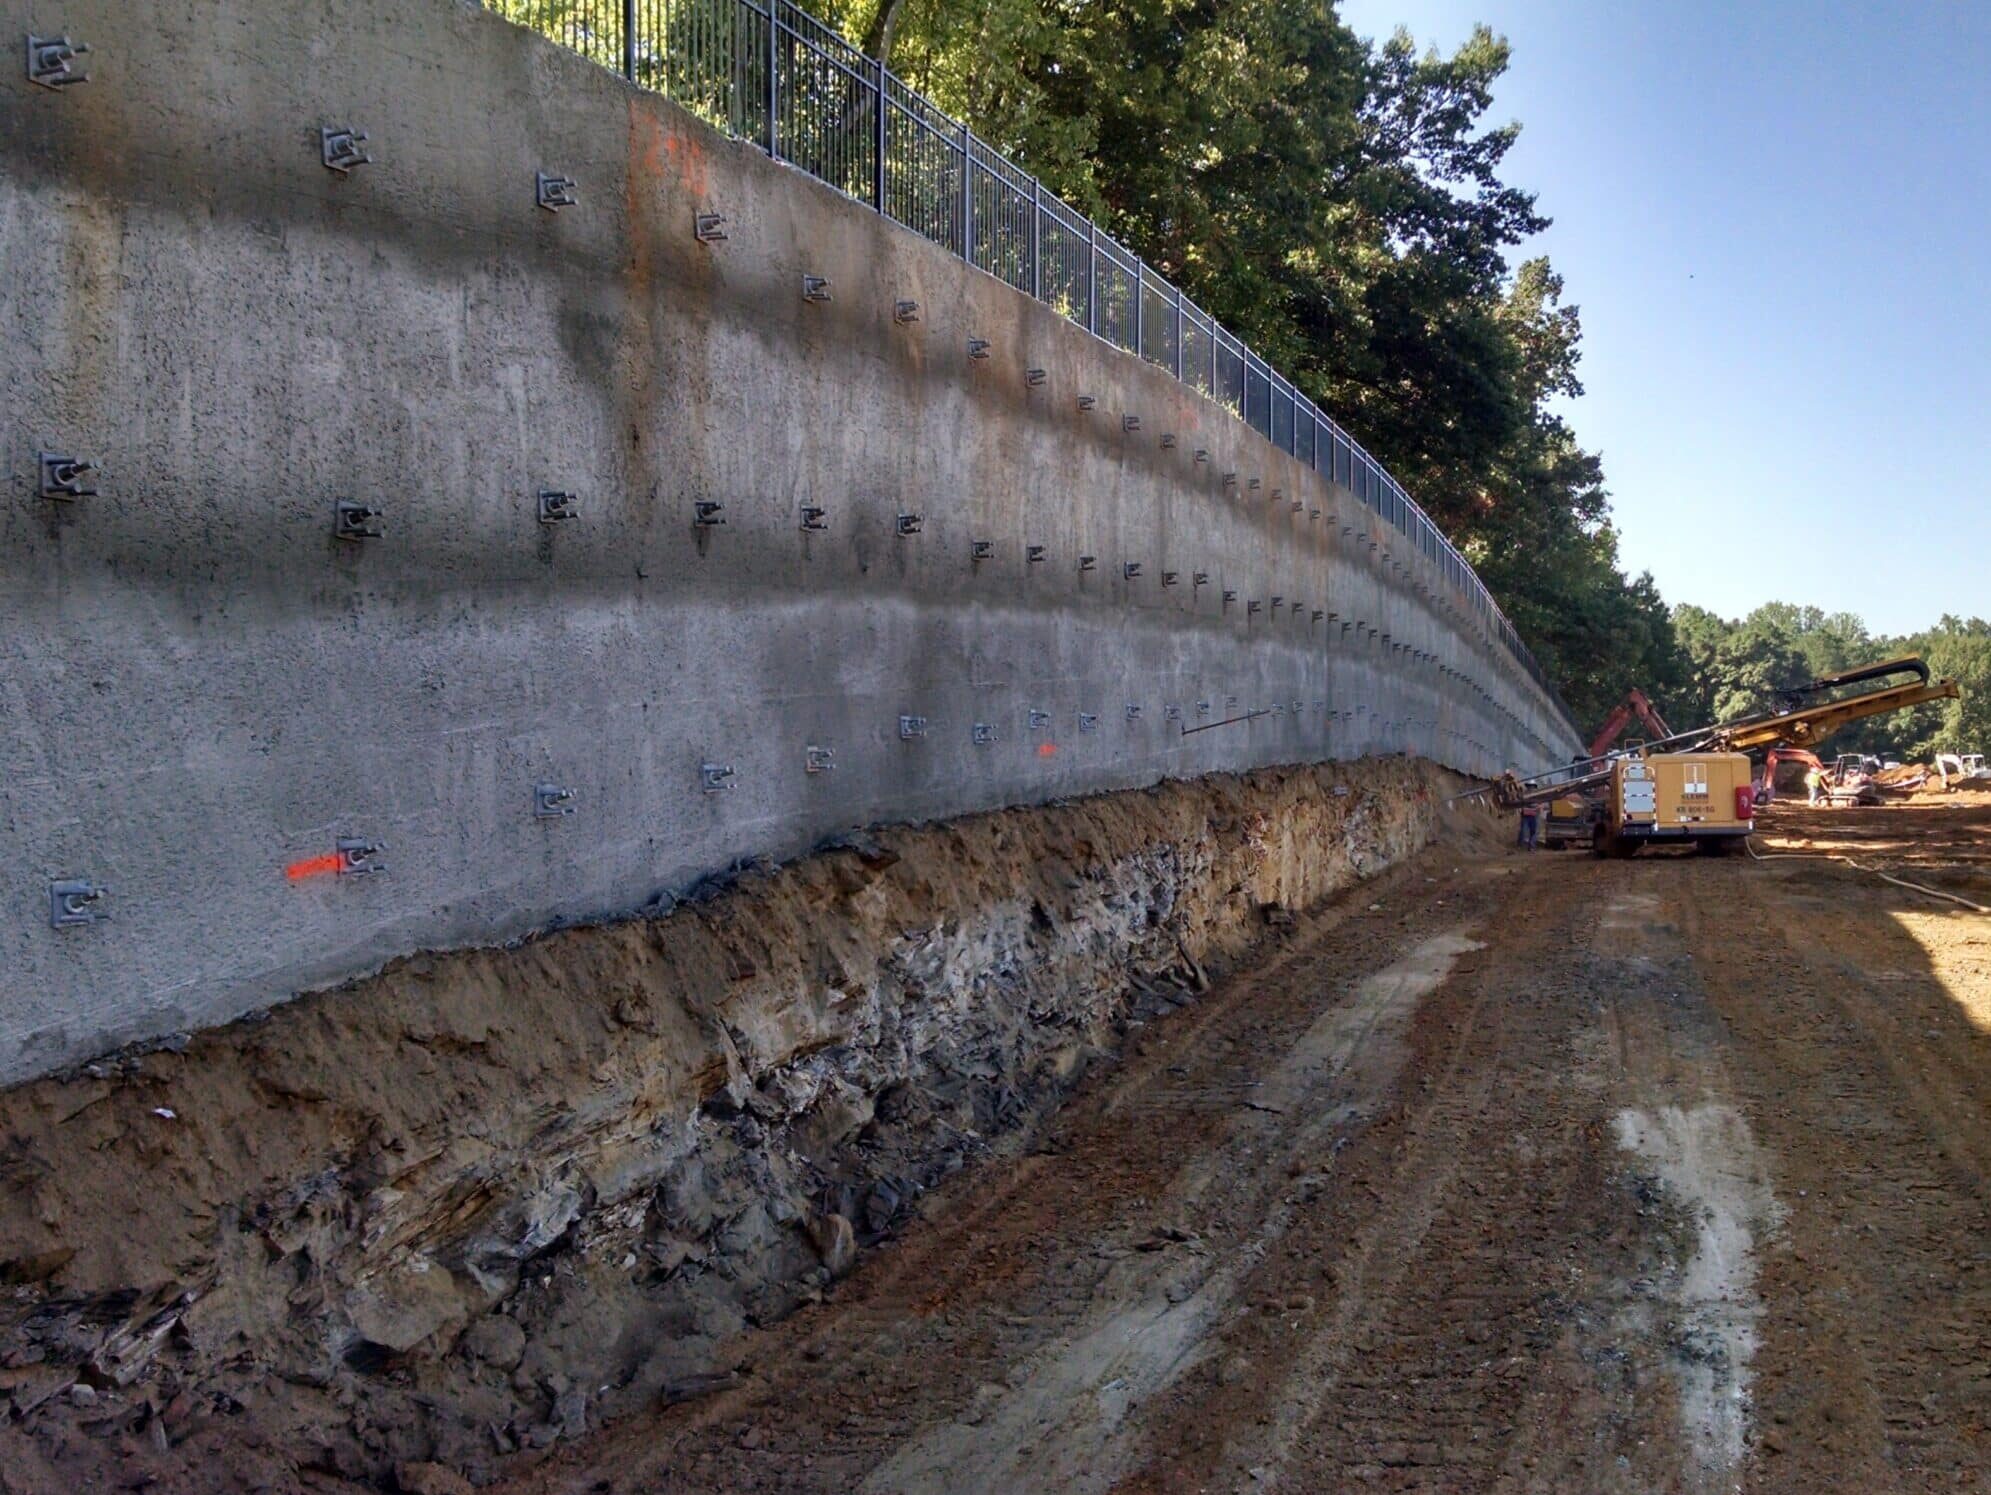
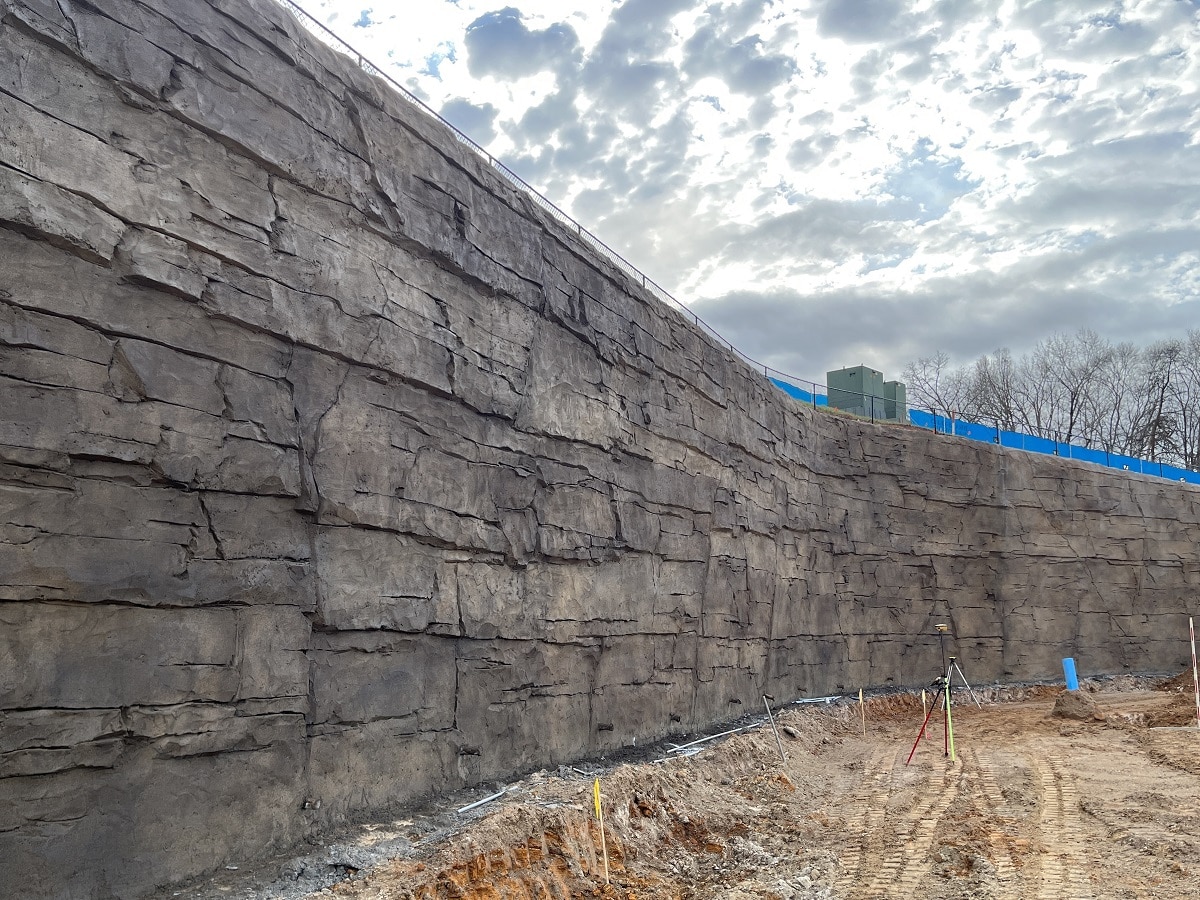
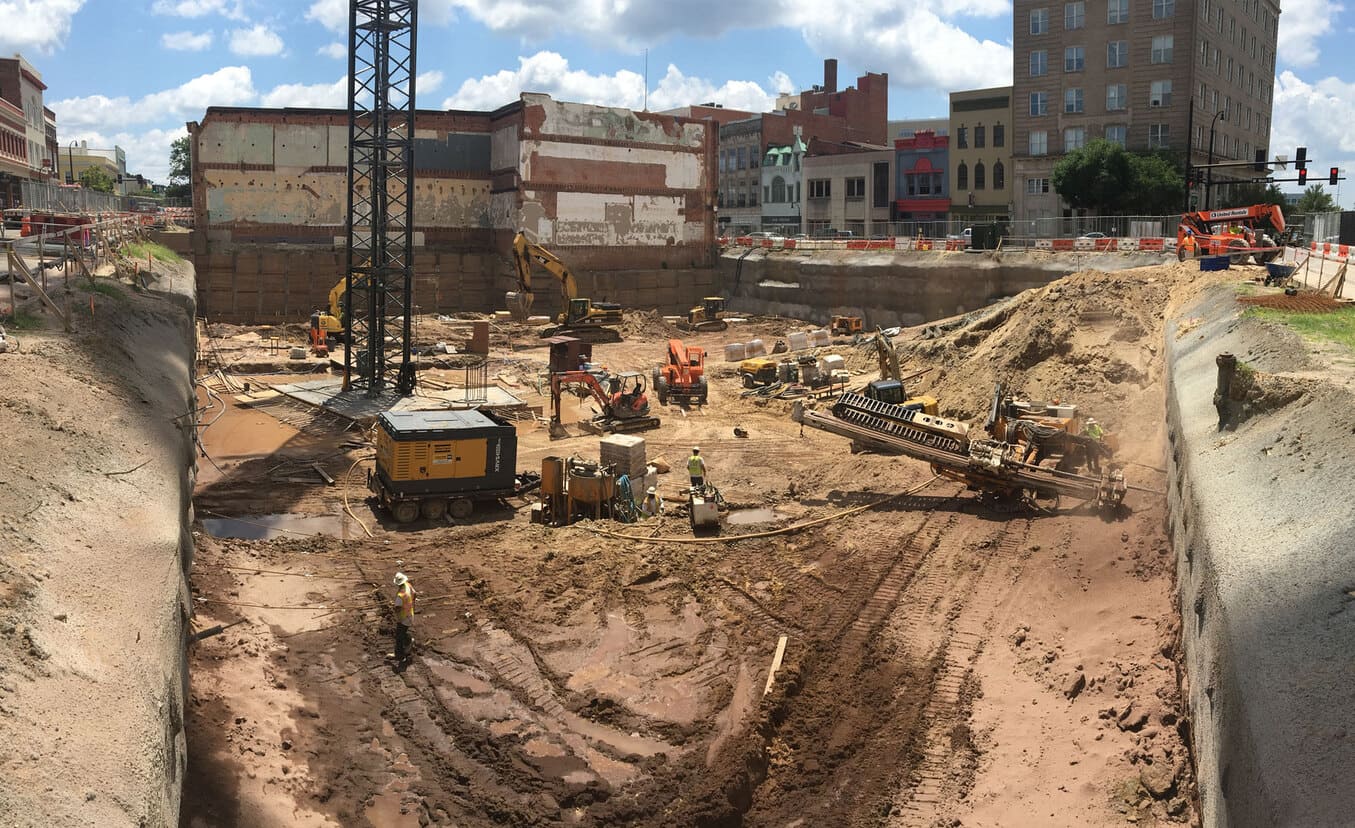
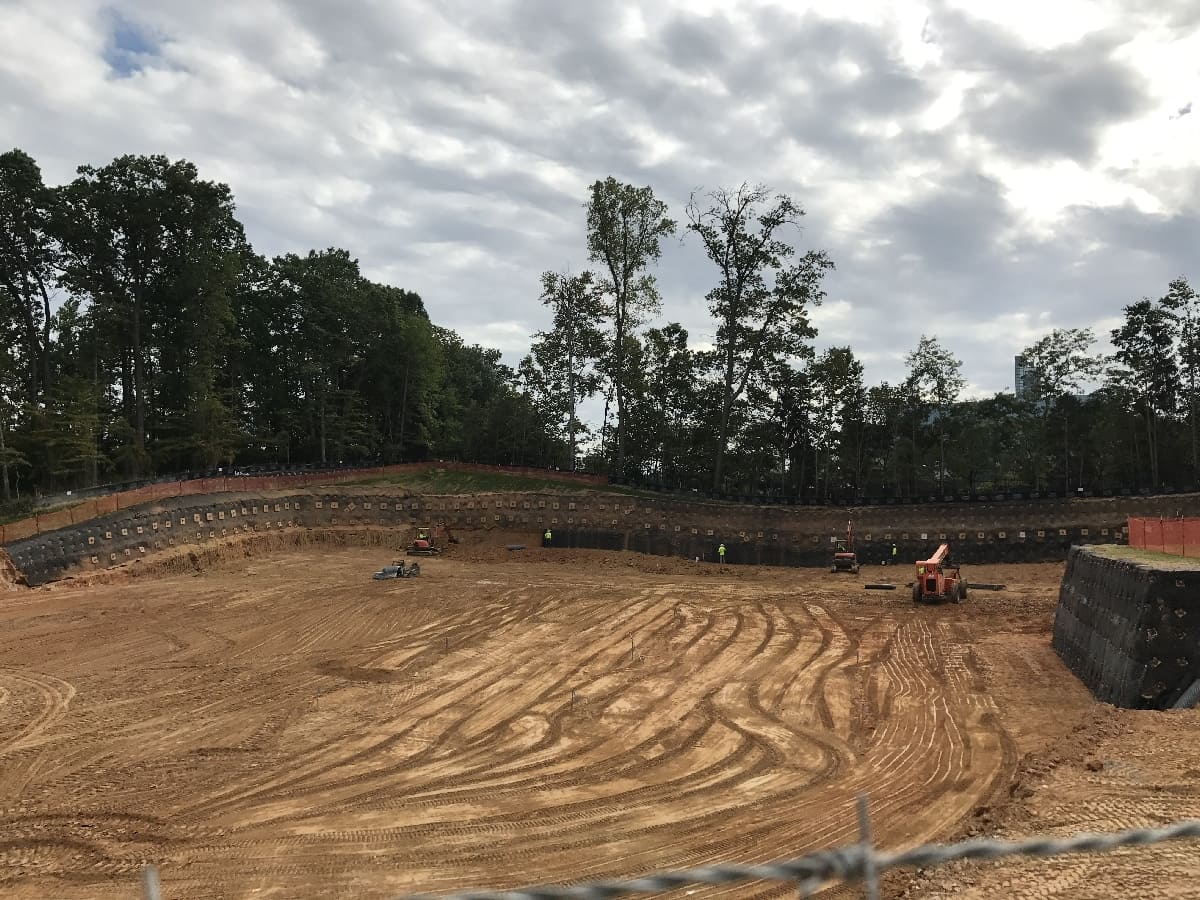
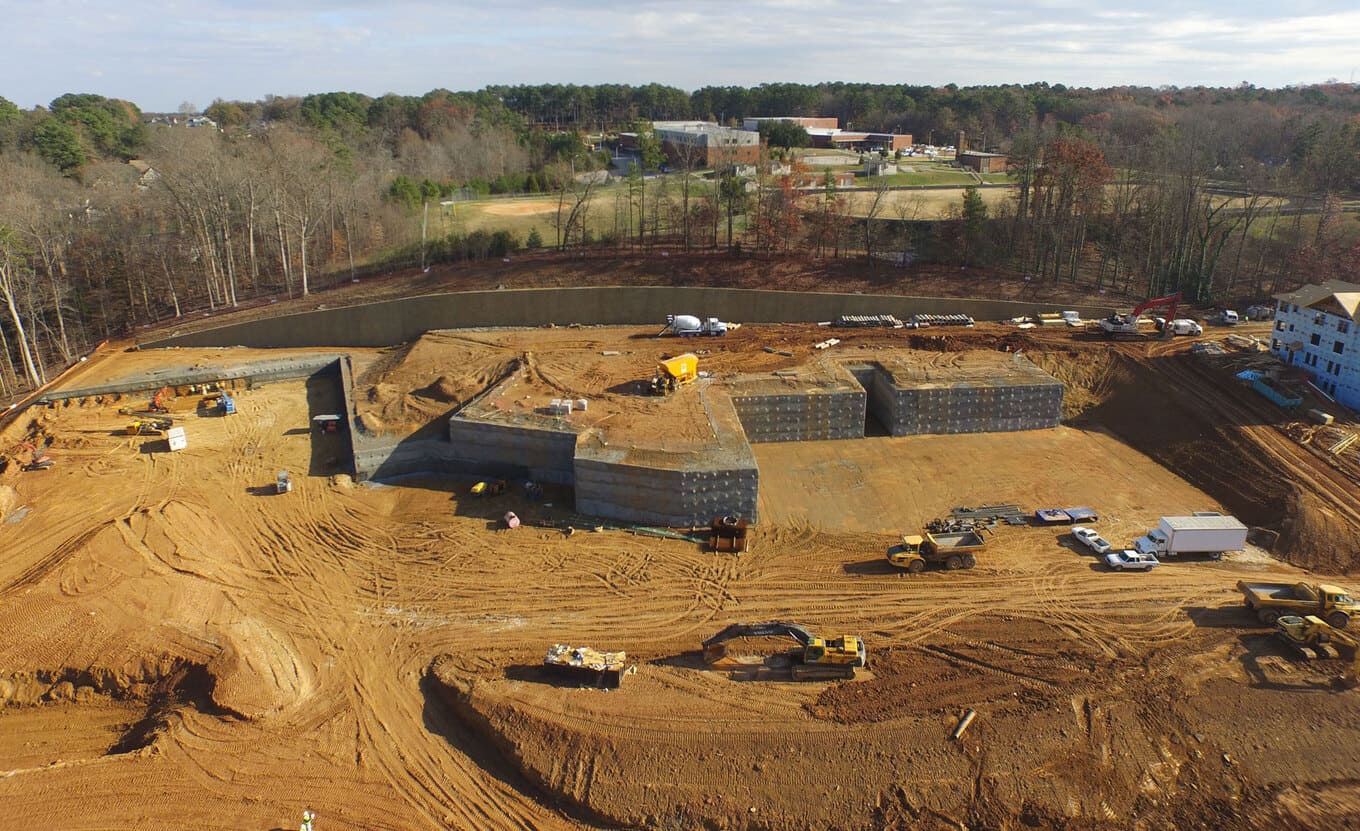
A soil nail wall is a a “top-down” retaining wall constructed in 5′ lifts by drilling rows of nails and applying a shotcrete face. The nails start at the existing ground surface and are installed as the ground in front of the wall is excavated in lifts. The purpose is to construct a retaining wall (temporary or permanent) where sloping per OSHA is not possible due to existing structures, utilities, or property lines.
The first soil nail wall was constructed in 1972 near Versailles, France to stabilize a 60′ deep excavation for a railroad widening project. Prior to soil nails, most excavations were stabilized with driven sheet piles or H-piles with wood lagging that were either anchored or internally braced.
Advantages
- Soil nail walls are installed more quickly and cost effectively than other shoring systems.
- Soil nailing is an excellent alternative when soil overlies hard material or rock.
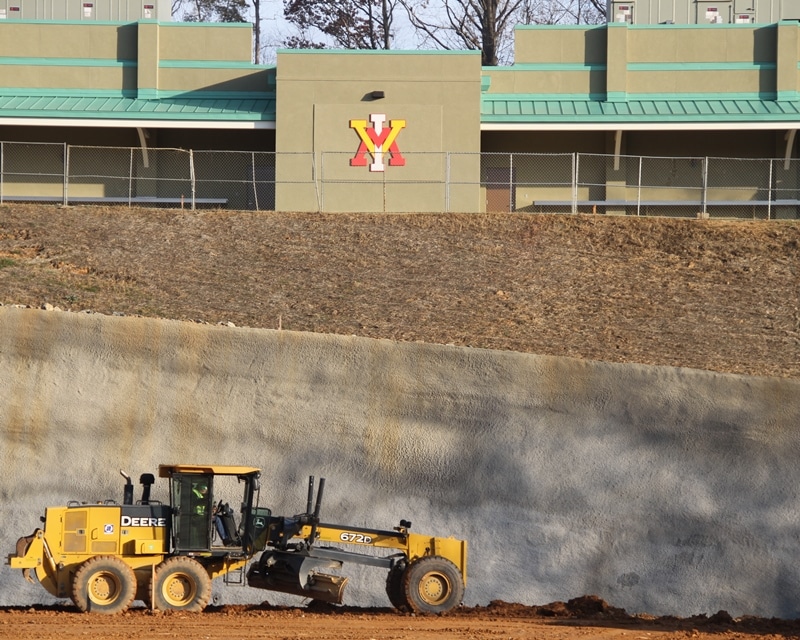
- A wide variety of facings can be used.. Permanent walls can have a finished shotcrete face or any veneer such as brick, stone, or modular blocks.
- The nails can be drilled and grouted or driven members.
- Soil nails work well in the piedmont residual soils found in our region of Virginia, North Carolina, South Carolina, Tennessee and Georgia.
Limitations
- For construction, the soil must stand in 5′ lifts during construction. Therefore, soil nails walls are not typically used in clean sands such as might be found in coastal plain geology.
- Since the nails are installed on a typical 5′ x 5′ pattern, it is not a good solution where multiple utility conflicts may be encountered in the zone of nails.
Construction
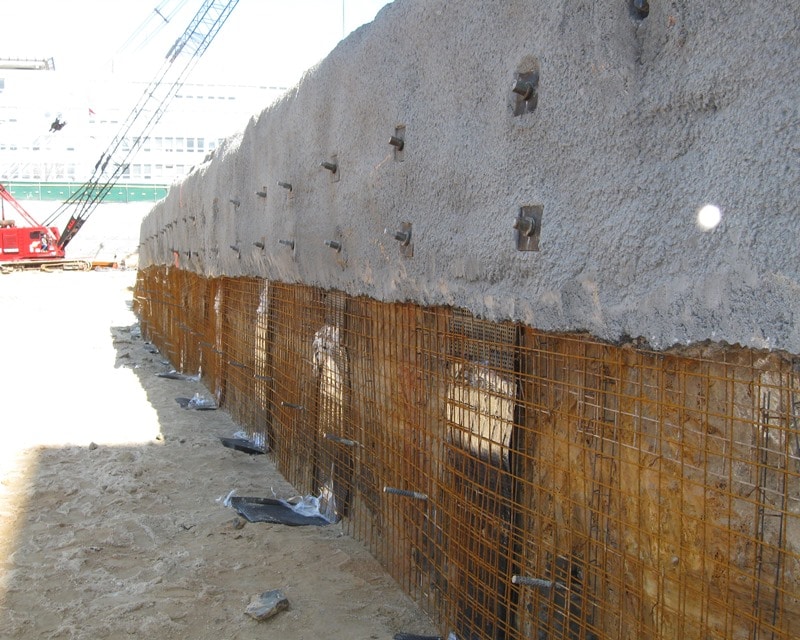
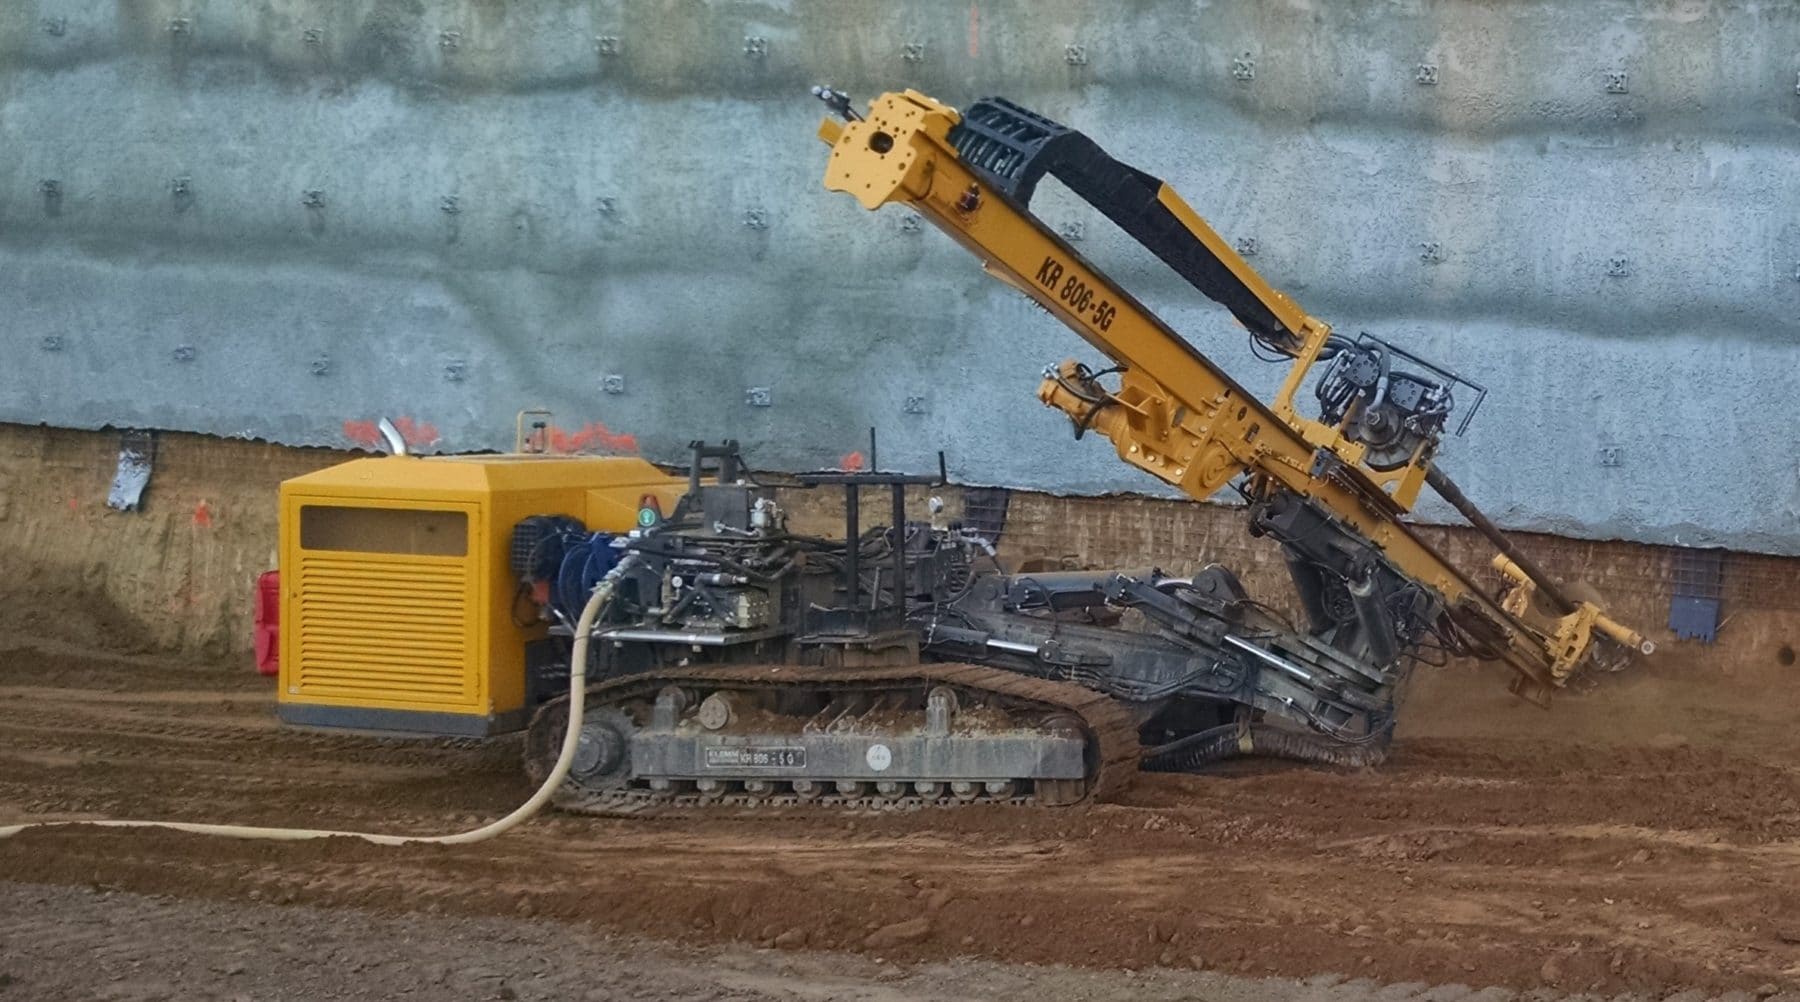
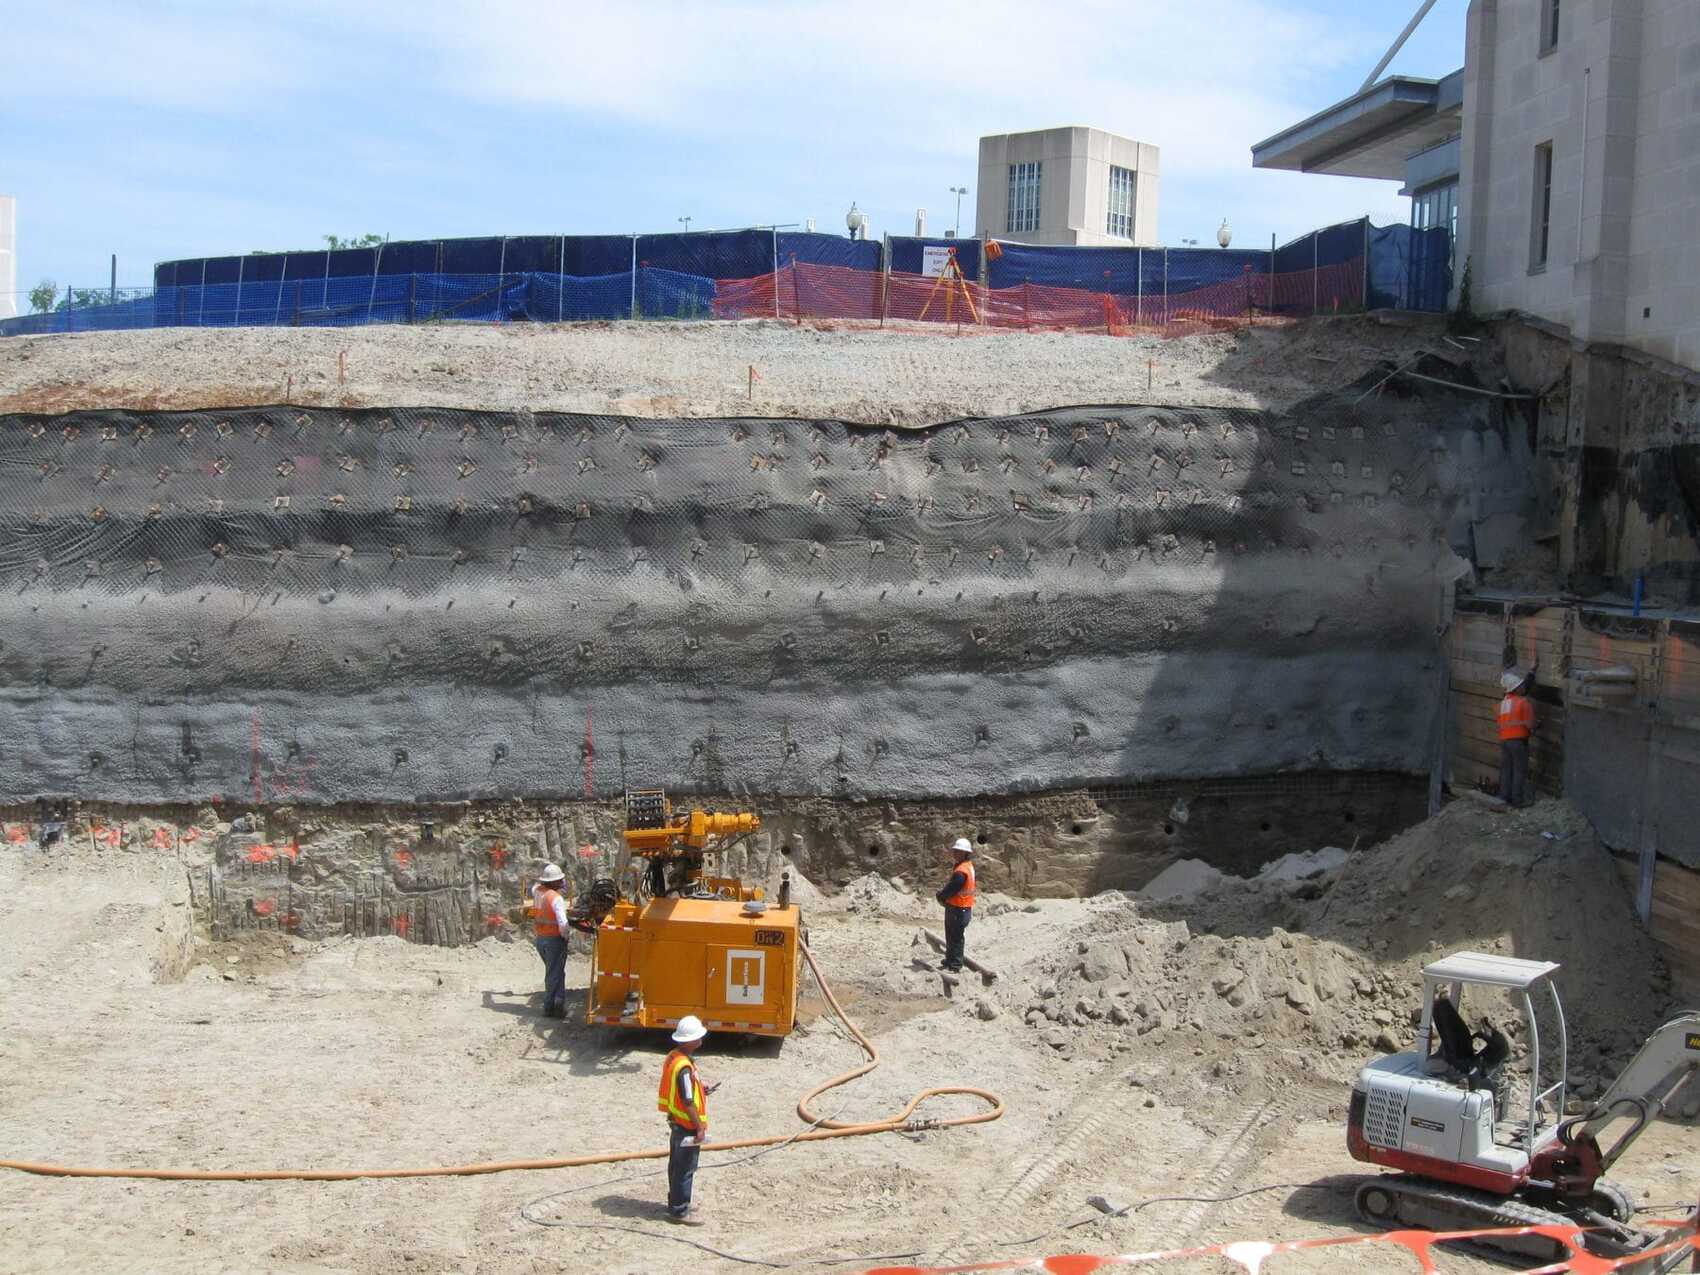
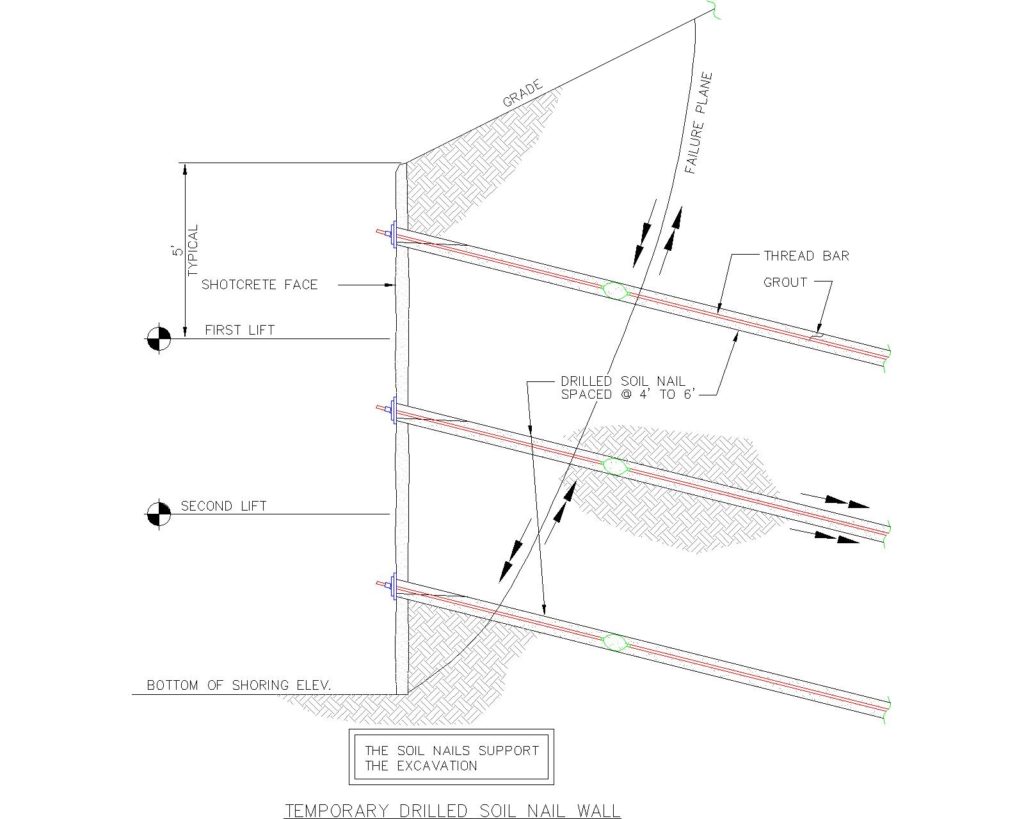
Contractors drill nails on a close pattern and applying the shotcrete facing in lifts. A 5′ lift is excavated. A row of nails are then installed on that lift. Steel reinforcement such as WWF and rebar are then placed at and shotcrete is applied. That lift is now complete and the site is excavated an additional 5′ and the process is repeated.
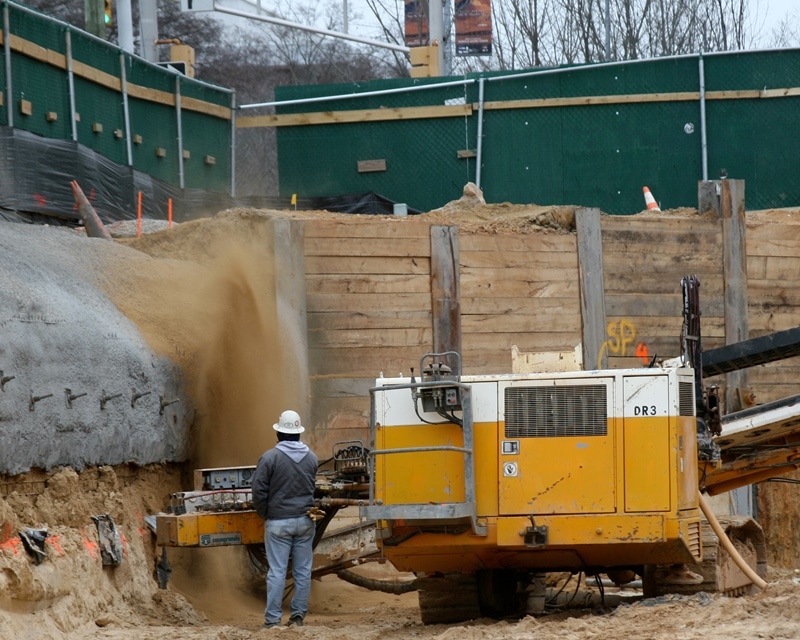
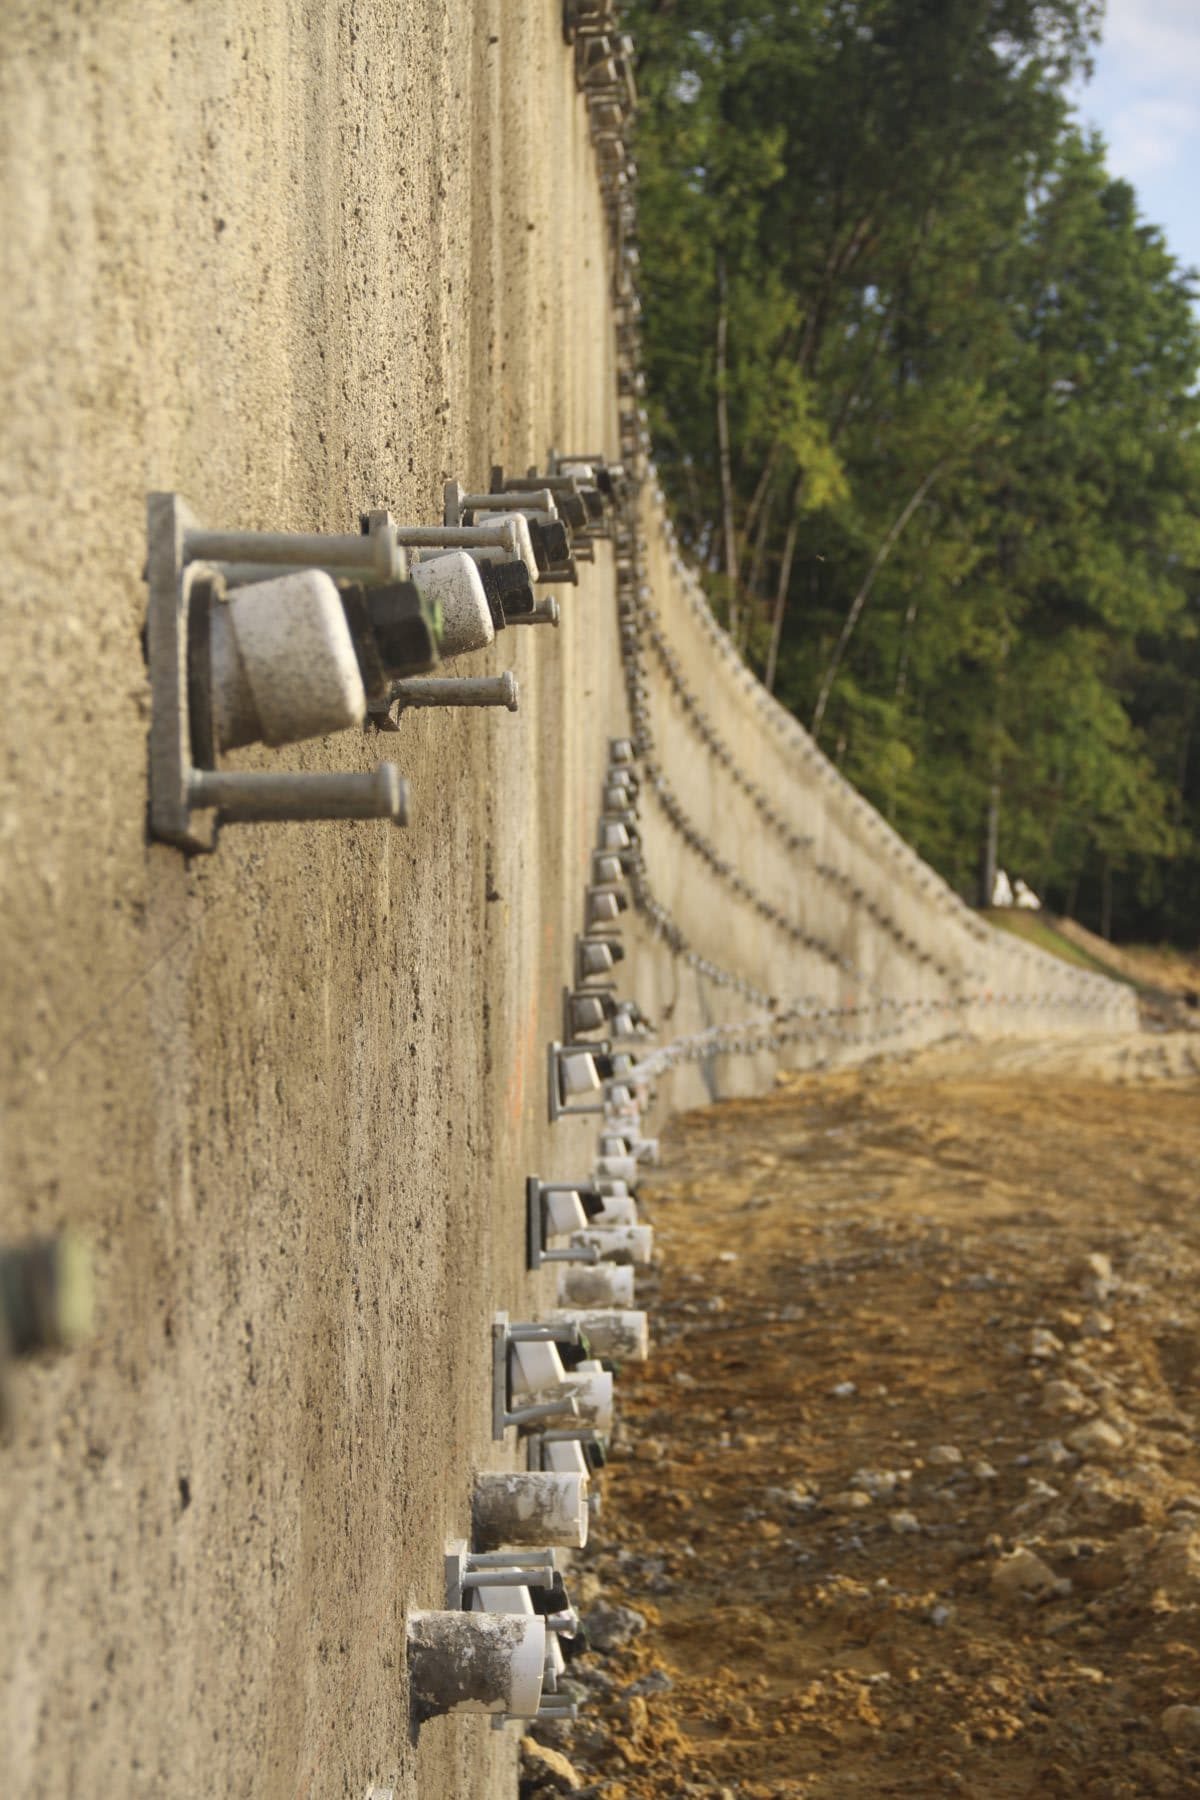
Nails are typically drilled on a 5′ x 5′ pattern. The length of the nails are typically 100% to 125% of the wall height. The nails may decrease in length near the bottom of the wall. The nails are installed by drilling 4″ to 6″ diameter holes into which a threaded rod is inserted. The hole is then grouted to attach the threaded rod to the ground.
- Excavate 5′
- Drill 4″ to 6″ diameter holes and grout in place an all thread bar
- Place reinforcement and shotcrete
- Proof test 5% of the nails
- Repeat process to the bottom of the excavation
Design
Contractors typically design walls using a limit equilibrium analysis. Think of the sliding block experiment in high school physics lab where you may have calculated what force is required to overcome friction and move a sandpaper block along an incline. As a wedge of soil (see the curved plane in the diagram above) tries to slide into the excavation, the wedge of soil is retained by the soil nails and the friction of the ground moving against itself. The nails get their capacity from the friction between the grouted nail hole and the ground. The walls are designed to have a factor of safety of 1.35 to 1.5, meaning 35% to 50% more resisting force than is required to stabilize the wall. Since some movement is required for the soil to develop sliding friction against itself and for the nails to engage in friction, soil nail walls typically move 0.1% to 0.4% of the wall height; 1/4″ to 1″ on a 20′ wall.
Learn more about soil nail wall design
Learn simple QC measures for a successful wall
Other Resources
FHWA Soil Nail Manual
DFI Anchored Earth Retention Committee
Guidance for Design of Temporary Soil Nail Walls, DFI and ADSC
Photos
